Sunday, May 8, 2011

Kids Oven Mitts

The next step in my process of making kids kitchen stuff was the oven mitts (six of them)
I had not pattern, but I drew an oversized oven mitt onto tissue paper and used that as my pattern to cut out 12 pieces of white fabric, 12 pieces of batting and 12 of the red gingham that matched the other portions of the kitchen sets
 I layered a set of white, batting and gingham, and 'quilted' through them by just sewing a few intersecting diagonal lines
 I took two pieces that were opposites of each other (in regards to which way the thumb pointed)

 And I stitched them right-sides together:

 I trimmed the excess, and turned them right side out

Then used some edging I made (exactly the same as the edging I made for the hot-pads) and hand-stitched that around the bottom edge: 

Thursday, March 31, 2011

Kids Pot-Holders

A "customer" (my mother) is paying me to make a set of six kids "play kitchen sets"
Meaning: six children's aprons, six pot-holders, six oven mitts and maybe six chef hats.
The pot-holders were the easiest so I started with them.

I cut approx 4" squares- 2 of fabric, and one of batting.

I sandwiched the batting in the middle and then stitched all four sides:

I 'quilted' the piece by just sewing a few lines diagonally across the piece:

Then I trimmed the edges very close to my stitch lines.

Then I made my edging
I stared by cutting a strip about 1.5" wide (left), then I folded it in half and pressed (middle), then I folded the raw edges into the center and pressed again (right)
This is similar to bias tape, except I didn't cut it on a bias.

Then I placed the edge of the hot pat in the fold of the edging I had created and pinned it in place

I left some extra at the end to make the 'loop' that you see on all potholders and oven mitts.
That extra piece hanging off is actually where I started my stitches. I started on the tail end and then sewed around three and a half sides. Once I was an inch or two from completing the square, I would fold the end of the 'tail' back and then loop it around. Then I would stitch to the corner and do some back-stitching back and forth and at an angle to reinforce that corner and the loop.

TA-DA!
Then I just did that 5 more times.


Disclaimer:
This is a project for kids, so they can pretend to cook- don't use this tutorial for real hot pads/potholders- I doubt this is safe to use on hot dishes, the general idea would be the same, but you would need to get material and lining that is more effective against heat.

Monday, March 14, 2011

My First Wedding Cake!!!!

This past weekend was a big one for me!
I go to make my first ever wedding cake--and believe it or not, it was a success!


It's a basic design, which is great, so I didn't have to have a major heart attack over it. I was happy with it and so were the bride and groom.
I can't believe I made a wedding cake, just a few years ago- I could barely scrape frosting from a can onto cake from a box without totally messing it up- I can't wait to see where I'll be in 3 more years.

Thursday, March 10, 2011

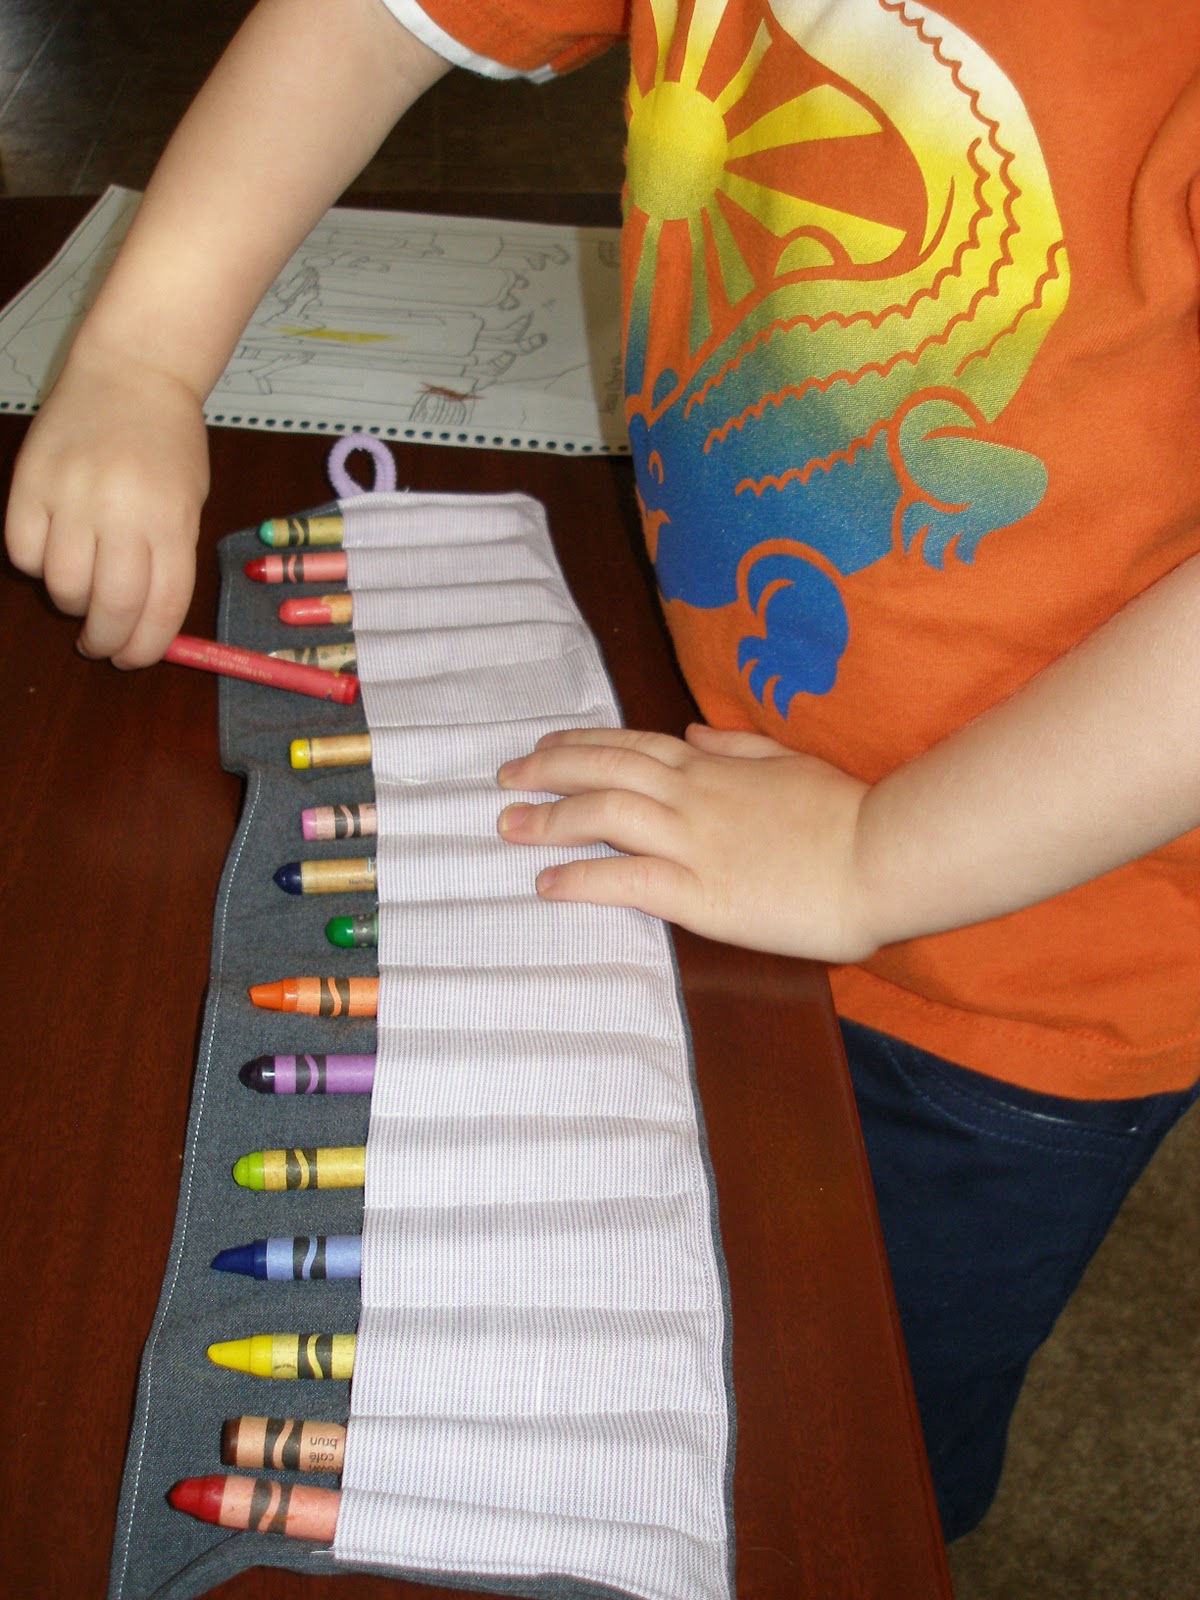
Crayon Roll

So, this is nothing new... you've probably seen them a few times before, but I decided to make a couple of crayon rolls.


Here's a look at the full item:
Back of Crayon Roll

Front of empty crayon roll

Roll it up, to keep your crayons neatly in place while in your diaper bag (or whatever)

And all wrapped up:


  These are great for allowing you kids easy access to their crayons, but keeping them in place so they don't get dropped/lost while at church, in the car, or even at home.
I have one in my diaper bag, and the other one is going for sale in my etsy shop.

Sunday, March 6, 2011

Book Cover

I had an order for custom book cover on my etsy.

She needed a cover to protect her books from dust and cat/dog hair. I got some plastic from the upholstery section at Joann's and made it the size she needed... 7'x4.5"x7"

Here are a few pictures of it filled with books after I finished it:


I cut vertical slits every ten inches to allow easy access to the books.


I'm also in the process of making a similar cover for a couple of strollers, to keep them clean while they are stored in the garage.

Wednesday, March 2, 2011

Cowboy Cake

My BFF's son turned one- so I made a cake for the occasion!

His birthday party was a "cowboy" theme so that's where I decided to go with the cake:
Almost everything is fondant. the cow print, the hat, the number one, the borders and the red bandanna.
I just used icing to pipe on the decorations for the bandanna

Wednesday, February 9, 2011

Onesie Dresses

So, like every other novice sewer/mother of a young girl, I had to try my hand at onesie dresses.
These are relatively simple, plus they are an entire (cute) outfit in one piece.

Here's what I made:

Black and white polka-dotted double gathered skirt, and a once gathered purple paisley.


I purposely made the purple one shorter, thinking it would be cute to see those chubby baby legs:
I also love that you see the little bit of the white onesie-bum sticking out.

 And I made a little yo-yo hair clip to match.


Wednesday, February 2, 2011

Cake!

I made another little cake this month. One of the girls that I work with a church had a birthday and she is a violin player and quite the little singer so I went with a music theme for the cake:
Cute, right? Nothing amazing, but still cute.
That picture is actually upside down, though.

The notes actually play the beginning of Twinkle Twinkle Little Star (if you add B-flat and E-flat to the key signature)
So this is what's it's supposed to look like:
Up-side-right Cake

I just thought it looked better upside-down.

Wednesday, January 26, 2011

More Pillows

Do you know how hard it is to find a plain orange pillow? I'll save you the trouble- and tell you it's impossible.
However, a plain pillows are just what we wanted in our living room. Our living room is a bit modern, we like clean lines, neutral colors as the background (couches, carpet, big furniture) with big bright pops of color.
Orange and red went with the art in the room, as well as our rug- and contrasted nicely with our light couch and all-black furniture.
But Like I said- it was impossible to find them- So I made them. This was a few years ago when I was a very novice sewer, but they turned out and they've hung around on our couches ever since.


This is just another example of the custom pillows I can make, order through my etsy shop!

Sunday, January 23, 2011

Clutch

So after I made my larger bag from my Chinese fabric, I still had some material left over. So I made a small clutch and/or carry-all and/or whatever you want it to be :)


When it's closed, it measures about 7.5"x5"
It has a magnetic snap closure, so it's easy to open but stays firmly closed when you need it.
The inside is lined with the reverse of the fabric, so you get the same design, but with the colors reversed.
 Available now in my etsy!

Another Bag!

This bag was made from repurposed fabric. My mother is the queen of buying unique/unnecessary items. On one trip to China she bought me a robe.
A Chinese Silk robe with dragons and such on it.
Believe it or not, I have very little use for a silky Chinese robe in my life. But it was unique and kinda cool looking so I held onto it-- even if I never wore it.
Well, a couple years later I was about to throw it out when I realized that I could use this cool fabric, just not in the form of a robe

TA-DA!
I made a bag from the fabric. It's another over the shoulder tote.

 I didn't line this bag on purpose, so that you could get the negative color affect on the inside of the bag.
So, where there is red on the outside it is gold/orange on the inside. And where there is gold on the outside, you get red on the inside.  

Of course, I added pockets. What good is a bag without pockets?

The outside pocket

The inside pocket.
 This bag measure about 12"x15" and it's available in my etsy shop