Here's how I did it:
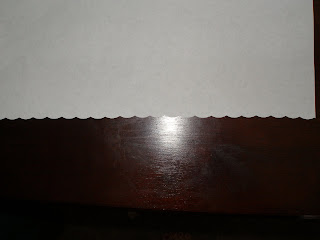
First I cut regular white paper with my Kraft Edgers scissors
 (KE-26, the name of this pattern of scissors is 'bounces')
I then flipped my scissors over and cut very close to the first cut to get this chain effect.

Then I cut some medium blue and some dark blue paper into 3/4" squares. (Lots and lots of .75" squares). I could have cut strips and 'weaved' the paper together, but I liked the slightly messy look that I got from the individual squares. It looks very homemade.

Since I wanted the quilt on the front to by 5 squares by 7 squares, I made the card 3.75"x5.25"
I used plain white card stock for the card.
Here is the image of the untrimmed card with the background of the quilt pattern.

I started attaching the small chains of white ovals, I had the easiest time keeping the angles and such how I wanted, if I cut it into sections of two ovals per piece.
I continued laying down the oval chains, but did not continue the pattern into the outer rows of the 'quilt'.
I then cut white paper into strips about 1/4" wide and glued them around the center section of the 'quilt'.
I had intended to stop there, but it was not enough , so I punched out 1/8" punches from some yellow paper, and glue them into the center of each square that contained a pattern.
 And of course, I trimmed down the edges of the card.


1 comment:
Wow - you've put so much work into this - love it!
Thanks for joining us at the ABC Challenge this week!
Helen x
Post a Comment